


Is your RV & Caravans's power source holding you back?
If the limitations of your lead-acid RV & Caravans battery—short runtime, long charge times, and heavy weight—are restricting your adventures, it's time for a change. Welcome to your definitive guide to Lithium RV & Caravans Battery Upgrade. This resource is meticulously crafted to empower you with everything you need to know about upgrading to a superior lithium RV & Caravans battery system with LiTime.
Moving beyond the basics, we will delve into how to select the best lithium batteries for RV setups, ensure your charging systems are perfectly compatible, and execute a safe installation. We'll help you navigate the key decisions, from understanding why a 12v lithium battery is often the ideal choice to integrating the correct lithium battery charger. Let's begin the journey toward unparalleled energy freedom and reliability.
- 1. Caravan Lithium Battery Upgrade: 6 Compelling Reasons Why
- 2. Your RV Lithium Conversion Plan: A 4-Step Pre-Installation Checklist
- 3. How to Select the Best Lithium Batteries for Your RV & Caravans
- 4. Essential Upgrades: Your Lithium Battery Charger & Monitoring System
- 5. Professional Installation Guide for Your Lithium RV & Caravans Battery
- 6. Maximizing Your Lithium Battery Lifespan: A Long-Term Care Guide
- 7. Debunking Common Lithium Battery Myths
- 8. Essential Tools & Checklists for a Flawless Installation
- 9. FAQs about Lithium RV & Caravans Battery
- 10. Final Thoughts
1.Caravan Lithium Battery Upgrade: 6 Compelling Reasons Why
Is your lead-acid RV battery limiting your freedom? Making the switch to a lithium RV & Caravans battery isn't just an upgrade—it's a transformation.
LiTime's LiFePO4 technology delivers tangible advantages that enhance every aspect of the RV experience.
1. Twice the Usable Power on a Single Charge
Stop rationing your power. Unlike lead-acid batteries, which damage themselves if drained beyond 50%, a LiTime 12v lithium battery allows you to safely use over 80% of its capacity. This effectively doubles your usable energy from the same amp-hour rating.
Example:
- A 100Ah lead-acid battery gives you about 50Ah of power.
- A 100Ah lithium battery delivers nearly the full 100Ah, powering your appliances twice as long.
2. Drastic Weight Reduction for Better Performance
Lithium batteries weigh a fraction of their lead-acid counterparts. Shedding pounds translates directly into improved fuel efficiency, easier handling, and reduced wear on your RV & Caravans's suspension and tires.
3. A Lifespan Measured in Decades, Not Years
Invest in power that truly lasts. High-quality RV & Caravans lithium batteries can withstand 4,000–15,000 cycles, outlasting lead-acid batteries by a factor of 10-to-1.
For full-time RVers, this means a decade or more of dependable power.

4. Rapid Charging & Full System Integration
Time is freedom. Lithium batteries charge dramatically faster, cutting generator and shore power time significantly. They pair perfectly with solar and alternator charging when using a compatible lithium battery charger, offering unparalleled flexibility.
5. Truly Maintenance-Free Operation
Forget about weekly maintenance. No more watering terminals or worrying about sulfation. LiFePO4 batteries are completely sealed and managed by an intelligent BMS that handles everything for you, automatically.
6. Lower Lifetime Cost
While the initial price is higher, the long-term economics are clear. The extreme longevity and 100% usable capacity of a lithium deep cycle battery make it the most cost-effective choice over its lifespan.
- Tips: For boondockers, this efficiency means your lithium RV & Caravans battery can cut generator runtime by more than half, ensuring quieter and more peaceful nights.
| Factor | Lead-Acid | Lithium (LiFePO4) |
|---|---|---|
| Usable Capacity | ~50% | ~100% |
| Cycle Life | 300–500 | 4,000–15,000 |
| Weight (per 100Ah) | ~60 lb | ~30 lb |
| Maintenance | Regular | None |
| Cost per Cycle | ~$0.30 | <$0.10 |
Although lithium batteries may cost 2–3 times more upfront, their 10x longer cycle life and 100% usable capacity result in a significantly lower cost per cycle. This, combined with the gains in efficiency and reduced maintenance, makes them the unequivocally smarter long-term investment for serious RVers.
2.Your RV & Caravans Lithium Conversion Plan: A 4-Step Pre-Installation Checklist
A successful lithium RV & Caravans battery upgrade hinges on thorough preparation. Rushing the installation risks compatibility issues and safety hazards.
This structured, four-step checklist will guide you through the critical planning phase to ensure a smooth, safe, and powerful upgrade.
Step 1: Calculate Your True Energy Needs
Begin with a precise energy audit. List every device—from LED lights and water pumps to inverters and entertainment systems—and calculate their total daily watt-hour consumption.
Converting this to amp-hours (Ah) reveals the capacity your new lithium battery bank must deliver.
| Device | Watts | Hours / Day | Watt-hours / Day |
|---|---|---|---|
| LED Lights | 40 | 5 | 200 |
| Refrigerator | 60 | 10 | 600 |
| Laptop | 100 | 2 | 200 |
| Water Pump | 50 | 1 | 50 |
| Total | 250 W | 18 h/day | 1050 Wh/day |
Once you have your total daily watt-hour consumption, convert it to amp-hours (Ah) to determine your battery capacity requirements.
- Real-World Example: 1050 Wh ÷ 12V = ~88Ah/day.
After adding a 30% reserve for efficiency losses, your target is ~115Ah of usable energy per day. For a 3-day off-grid excursion, you'd need a system with roughly 345Ah of total capacity.
Step 2: Audit and Upgrade Your RV's Electrical Components
Your existing system was designed for lead-acid. Before connecting your new battery, verify these key components:
- Converter/Charger: This is critical. Most stock RV & Caravans converters will not properly charge a lithium bank. You must invest in a dedicated lithium battery charger that delivers the correct 14.2–14.6V absorption profile.
- Wiring & Fuses: Ensure all cables are the correct gauge to handle the higher possible current draws without dangerous voltage drop.
- Monitoring: Upgrade to a lithium-compatible monitor for accurate, reliable State of Charge (SOC) percentage readings, not just voltage.
Step 3: Ensure Flawless Charging Source Integration
Your lithium RV & Caravans battery must work with your entire energy ecosystem.
- Solar Charging: Confirm your solar charge controller (MPPT is highly recommended) has a user-selectable or pre-set lithium (LiFePO4) charging profile.
- Alternator Charging: Protect your vehicle's expensive alternator. The low internal resistance of a lithium battery can cause alternator overload. A DC-DC charger is essential for safe, efficient charging while driving.
Step 4: Prioritize Safety with Certified Equipment
Not all batteries are created equal. Prioritize safety and longevity by choosing products with:
- LiFePO4 Chemistry: The safest lithium chemistry for RV & Caravans applications.
- Key Certifications: Look for independent validation like UL1973, UN38.3, and CE.
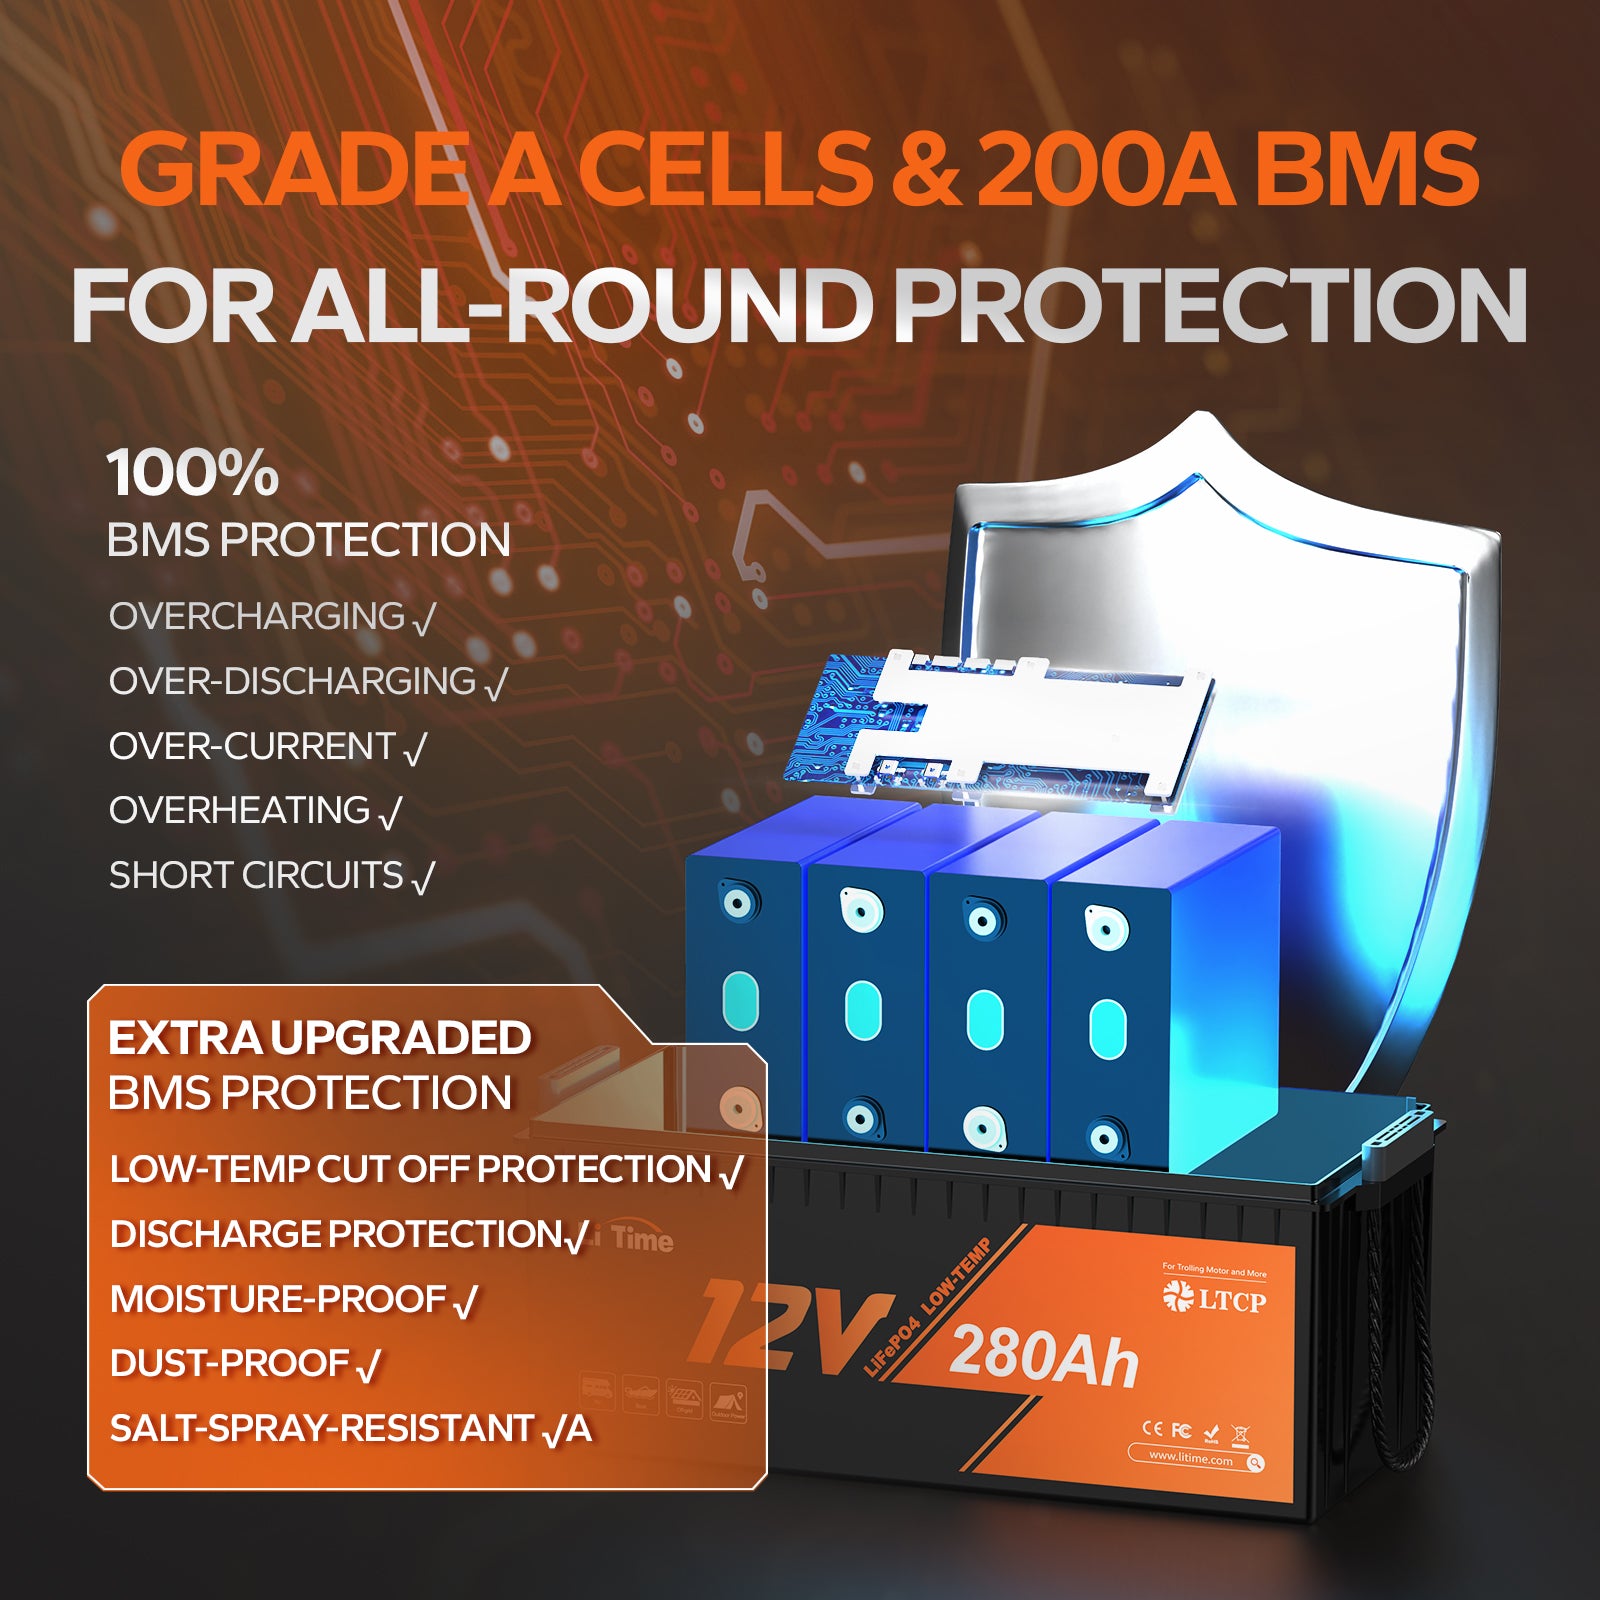
- Robust BMS: A built-in Battery Management System(BMS) is non-negotiable for protection against over-voltage, under-voltage, and extreme temperatures.
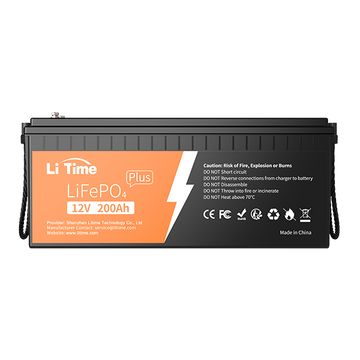
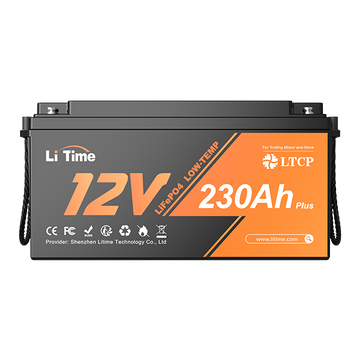
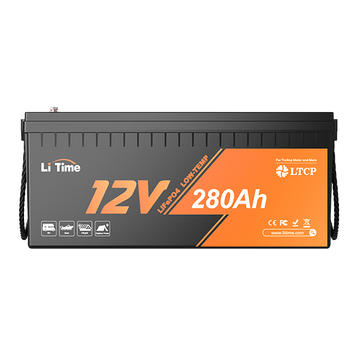
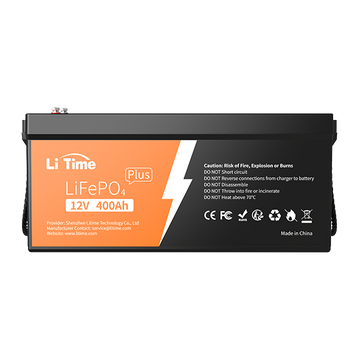
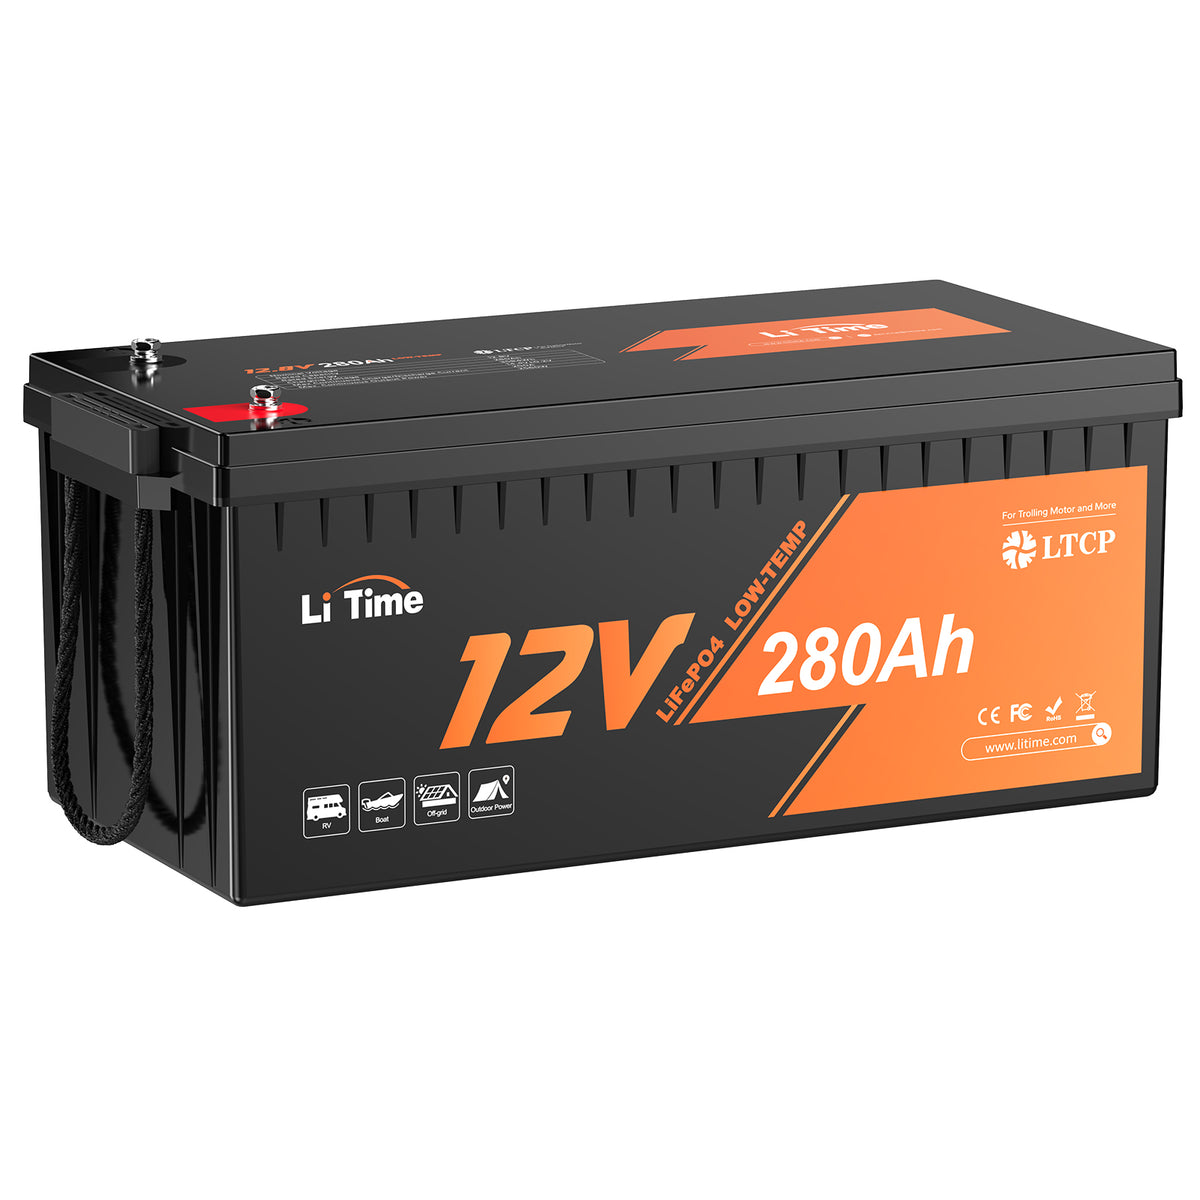
3.How to Select the Best Lithium Batteries for Your RV & Caravans
Navigating the market for a lithium RV & Caravans battery can be complex. Making the right choice depends on a few critical technical decisions.
This guide breaks down the five key factors—from core chemistry to smart features—to ensure you invest in a system that perfectly matches your travel style and needs.
1. The Only Chemistry for RVs & Caravans: LiFePO4
When selecting a Lithium Battery, always look for Lithium Iron Phosphate (LiFePO4). This chemistry is the undisputed gold standard for RVs & Caravans, offering exceptional cycle life, inherent safety due to superior thermal stability, and non-toxic materials. Avoid vague "generic lithium-ion" brands, which are often not designed for the high-demand, deep-cycle use of an RV & Caravans.
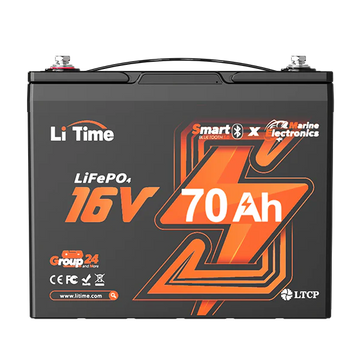
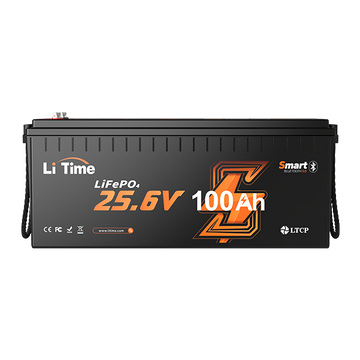
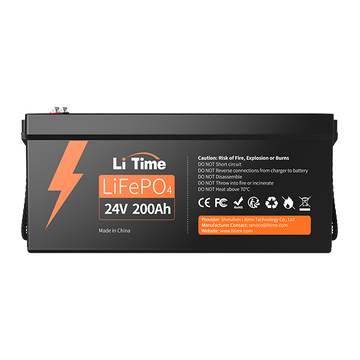
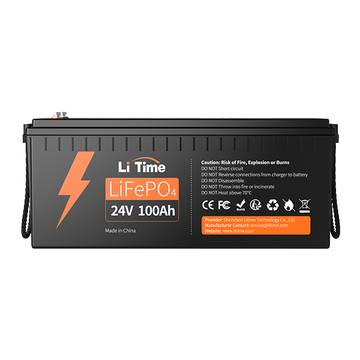
2. Choosing Your Voltage: 12V, 24V, or 48V?
The right voltage configuration balances simplicity, efficiency, and cost.
- 12V Lithium Battery: The go-to choice for most owners. It's a direct, plug-and-play replacement for your existing system and is compatible with nearly all standard RV & Caravans appliances.
- 24V Lithium Battery: Ideal for larger systems with powerful inverters. It reduces current draw, allowing for smaller (thinner) and less expensive wiring, improving overall efficiency.
- 48V System: Reserved for high-end, custom solar installations. While highly efficient for large solar arrays, it requires a step-down converter to power standard 12V loads.
3. Matching Capacity to Your Adventure Style
Your battery bank's size, measured in amp-hours (Ah), should be dictated by how you travel. Based on the energy audit from the previous section:
- Weekend Campers: 100–200Ah
- Extended Boondockers: 300–600Ah
- Full-Timers with Solar: 600–1,000Ah+
Tips: Always incorporate a 20-30% capacity buffer beyond your calculated needs to account for system inefficiencies, unexpected loads, and battery longevity.
4. The Brain of Your Battery: A Quality BMS
A robust Battery Management System (BMS) is non-negotiable for safety and performance. It serves as the intelligent brain, providing essential protection against over-charge, over-discharge, short-circuits, and extreme temperatures.
For modern convenience, look for a lithium battery with a smart BMS that offers Bluetooth monitoring, giving you real-time data on your phone.
5. Ensuring Performance in All Climates
Understand the limits to maximize lifespan. LiFePO4 batteries cannot be charged below 0°C (32°F) without risk of damage.
If you camp in cold climates, it is essential to choose a model with built-in low-temperature charging protection. Remember, they can discharge in much colder temperatures, making cold-weather camping still entirely feasible.
4.Essential Upgrades: Your Lithium Battery Charger & Monitoring System
To unlock the full potential of your new lithium RV & Caravans battery, your supporting systems must speak the same language. Simply dropping in a new battery leaves performance and safety on the table.
The following upgrades to your charging and monitoring infrastructure are not just recommendations—they are essential for a complete and reliable lithium battery system.
1. Replace Your Converter with a Dedicated Lithium Battery Charger
Your RV's factory converter/charger is programmed for lead-acid chemistry and will chronically undercharge your lithium bank. You must replace it with a lithium battery charger designed for LiFePO4.
A proper unit will deliver a precise 14.2–14.6V bulk/absorption charge and will either disable the float stage or set it to a safe 13.6V to prevent stress on the cells.

2. Optimize Your Solar Charge Controller
If you use solar, you're in for a treat. Lithium batteries are a perfect match for solar energy thanks to their high charge acceptance. Ensure your solar charge controller (preferably an MPPT type for maximum efficiency) is configured for lithium.
Set the absorption voltage to 14.4V and the float to 13.6V. A well-sized 400W–800W solar array can seamlessly sustain a substantial 200–400Ah lithium battery bank.
3. Protect Your Alternator with a DC-DC Charger
Charging your house lithium battery directly from your vehicle's alternator can be a recipe for an expensive failure. The low resistance of a lithium bank can overload and overheat a standard alternator.
A DC-DC charger is the crucial solution. It intelligently regulates the current, provides a multi-stage charge to your house batteries, and safely isolates the starter battery, ensuring your vehicle starts every time.
4. Install a Shunt-Based Battery Monitor
The built-in meter in most RVs & Caravans is notoriously inaccurate. To truly understand your system's health, invest in a shunt-based monitor. This device, installed directly on the battery negative, provides precise, real-time data on voltage, current flow, amp-hours consumed, and—most importantly—an accurate State of Charge (SOC) percentage. This is your mission control center for your power system.
5.Professional Installation Guide for Your Lithium RV & Caravans Battery
A successful RV & Caravans lithium deep cycle battery installation is defined by precision and foresight. How you install your battery is just as critical as the quality of the battery itself.
Following these professional best practices will ensure your system delivers safe, reliable power for years to come, protecting your investment and your RV & Caravans.
1. Master the Fundamentals: Wiring & Connections
Robust electrical connections are the foundation of efficiency and safety.
- Cable Quality: Use high-quality, oxygen-free copper wire sized according to official ampacity charts for the expected current load.
- Technique: Keep cable runs as short and symmetrical as possible. Always use tinned copper lugs, crimped with the proper tool, and sealed with heat-shrink tubing to combat corrosion—a critical step for long-term reliability.
2. Implement Critical Protection Components
Do not compromise on safety circuits. These components are your system's insurance policy.
- High-Current Fuses: Install ANL or Class T fuses on the main positive cable, rated slightly above your system's maximum continuous current but well below the cable's safe carrying capacity.
- Disconnect Switch: A master battery disconnect switch is essential for safely isolating the entire system during maintenance or in case of an emergency.
- Bus Bars: Use bus bars for distributing power and ground. They create a clean, organized, and safe central connection point, superior to stacking multiple lugs on a single terminal.
3. Ensure Secure Mounting & Optimal Environment
While LiFePO4 batteries are sealed and maintenance-free, their physical installation is crucial.
- Vibration & Security: Secure the battery firmly in place using a robust mounting bracket to prevent movement and damage from road vibrations.
- Thermal Management: Install the battery in a temperature-stable location, away from the engine bay or other direct heat sources. Ensure adequate clearance around the unit for BMS airflow and cable routing.
!!! Safety First: Never mix new and old batteries or different chemistries (e.g., lithium and lead-acid) in the same system.
4. Execute a Methodical Commissioning Process
Before relying on your new system, a thorough step-by-step verification is mandatory.
- Visual & Polarity Check: Double-check every connection for tightness and correct polarity.
- Power On: Energize the system and power on your monitoring equipment.
- Load Test: Gradually apply loads (start with lights, then progress to heavier draws like an inverter) and confirm stable voltage.
- Charge Verification: Test each charging source (shore power, solar, alternator) to ensure they are delivering the correct absorption voltage (e.g., ~14.4V) and have stopped charging when the battery is full.
6.Maximizing Your Lithium Battery Lifespan: A Long-Term Care Guide
Your LiTime lithium battery for RV & Caravans is designed for years of reliable service, and its longevity is directly influenced by your daily habits. Proper care is straightforward but crucial.
By following these simple guidelines on charging, storage, and usage, you can protect your investment and ensure it delivers peak performance for its entire lifespan.
1. Adopt Optimal Charging Habits
How you charge your battery is the single greatest factor affecting its lifespan.
- Use Compatible Chargers: Always use a lithium battery charger or a charging source configured for LiFePO4 chemistry to prevent chronic undercharging or harmful voltage spikes.
- Respect Temperature Limits: Never attempt to charge your battery when the core temperature is below 0°C (32°F) unless it has a built-in low-temperature charging protection feature.
- Storage State of Charge: For any long-term storage, maintain a partial charge, ideally between 20% and 80%, to minimize stress on the cells.
2. Follow Proper Storage Guidelines
When your RV & Caravan is not in use, correct storage preserves your battery's health.
- Environment Matters: Store your lithium battery in a cool, dry place with a stable temperature, ideally between 5°C and 25°C (41°F–77°F).
- Prepare for Inactivity: If storing the battery for more than three months, charge it to approximately 50% State of Charge and physically disconnect it from all loads to prevent parasitic drain.
3. Implement Smart Usage Practices
Small habits in daily use make a big difference over time.
- Avoid Deep Discharges: While capable, consistently draining your battery below 10-15% State of Charge can accelerate wear. Recharge promptly after heavy use.
- Perform Simple Inspections: Keep the battery terminals clean and tight to ensure efficient power flow.
- Leverage Your BMS: Periodically check the data from your battery monitor or Bluetooth BMS app to verify that all cells are balanced and operating normally, catching potential issues early.
7.Debunking Common Lithium Battery Myths
Myth 1: “You can use your old lead-acid charger.”
Reality: Partially true — it will charge, but not fully. A charger optimized for lithium ensures full capacity, balanced cells, and a longer battery life.
Myth 2: “Lithium batteries are unsafe.”
Reality: Modern LiFePO₄ chemistry is one of the safest energy storage technologies available. When equipped with a built-in BMS and proper certifications, they are extremely safe for RV & Caravan use.
Myth 3: “You can’t use lithium with solar.”
Reality: In fact, lithium pairs exceptionally well with solar systems due to high charge acceptance and efficiency, often making them the ideal choice.
Myth 4: “All lithium batteries are the same.”
Reality: Not true — critical factors like internal build quality, BMS design, and certifications make a major difference in real-world performance, safety, and lifespan.
8.Essential Tools & Checklists for a Flawless Installation
Proper preparation and verification are the keys to a successful lithium iron RV& Caravans battery installation. Having the right tools and following a step-by-step checklist will ensure the job is done safely and correctly.
Gather Your Essential Tools
Before you start, ensure you have the following:
- Multimeter
- Cable crimper & stripper
- Heat gun and shrink tubing
- Torque wrench
- DC clamp meter
Pre-Installation Checklist
Before any wiring begins, confirm you have:
- Calculated your daily energy needs and battery capacity.
- Verified your wiring gauge and fuse ratings are adequate for the new system.
- Purchased a lithium battery charger or confirmed your converter’s compatibility.
- Confirmed there is adequate space and ventilation for the new battery.
- Acquired a DC-DC charger if you plan to charge via your vehicle’s alternator.
Post-Installation Checklist
Before relying on your new system, methodically work through this list:
- Verified correct system voltage and polarity with a multimeter.
- Tested the system performance under various loads (e.g., lights, then inverter).
- Confirmed all charger settings (solar, converter, alternator) are correct for lithium.
- Checked the BMS data via your monitor for accuracy and proper cell balance.
9.FAQs about Lithium RV & Caravan Battery
1. Can I directly swap my lead-acid battery for a lithium one?
Yes, as a direct physical replacement. However, for optimal performance and safety, you must ensure your RV & Caravan's converter is a lithium battery charger or install a compatible one. A DC-DC charger is also essential for safe alternator charging.
2. Can lithium batteries power an air conditioner?
Absolutely. To run an air conditioner effectively, you need sufficient battery capacity (we recommend ≥300Ah) and an inverter that can handle the unit's high starting and continuous running load.
3. What happens if I overcharge the battery?
The Battery Management System (BMS) will automatically intervene, disconnecting the charging source to prevent any damage to the cells, making overcharging a non-issue in a properly configured system.
4. Do lithium batteries work in winter?
Yes, they discharge reliably in cold weather. However, to charge them safely when temperatures are below 0°C (32°F), the battery must have a built-in low-temperature charging protection feature.
5. Are lithium batteries worth it for casual RVers?
If you almost always camp with full hookups, lead-acid may suffice. However, for anyone who values longer runtime, faster charging, and reduced weight—or plans to boondock—the investment in a lithium RV battery is overwhelmingly worthwhile.
10.Final Thoughts
Converting your RV & caravan to a lithium battery system is a transformation of your travel experience. It unlocks true energy freedom, enabling longer, quieter, and more self-sufficient adventures off the grid.
With the careful planning outlined in this guide, by choosing quality components from trusted brands like LiTime LiFePO4 lithium deep cycle battery, and by following safe installation practices, your new power system will deliver clean, dependable energy for countless journeys ahead. Your home on the wheels is about to get a whole lot more powerful and liberating.